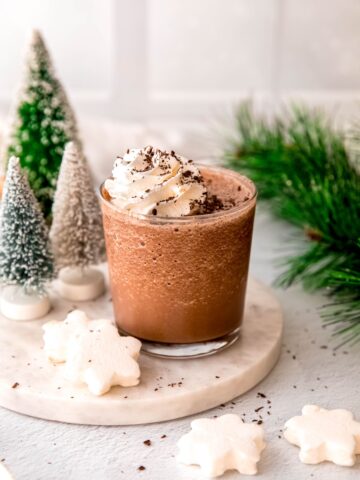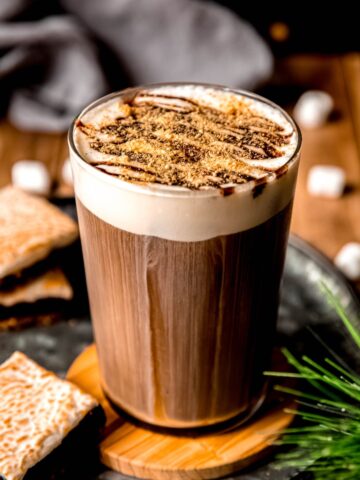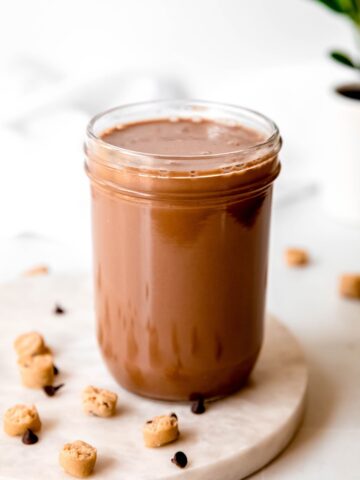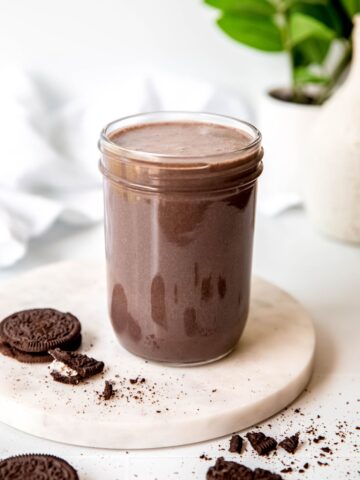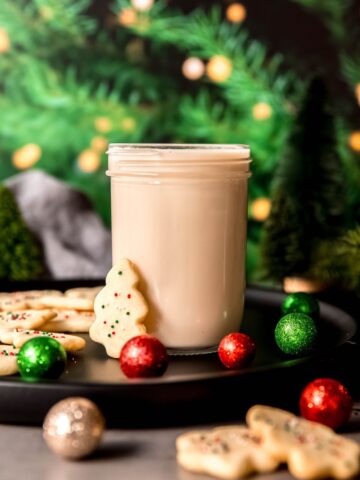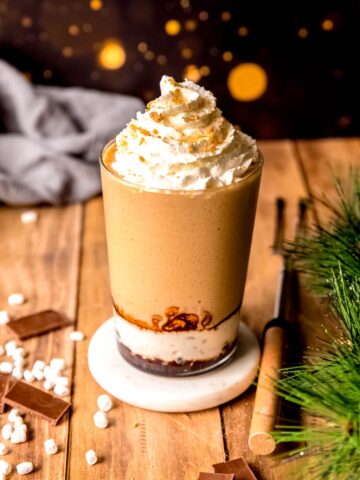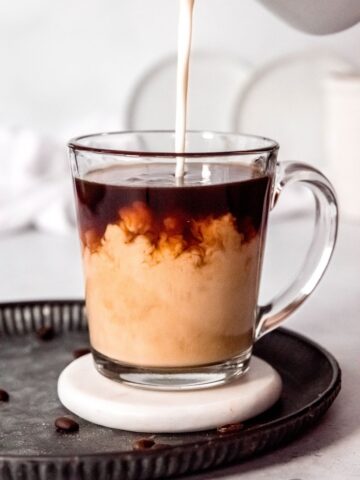
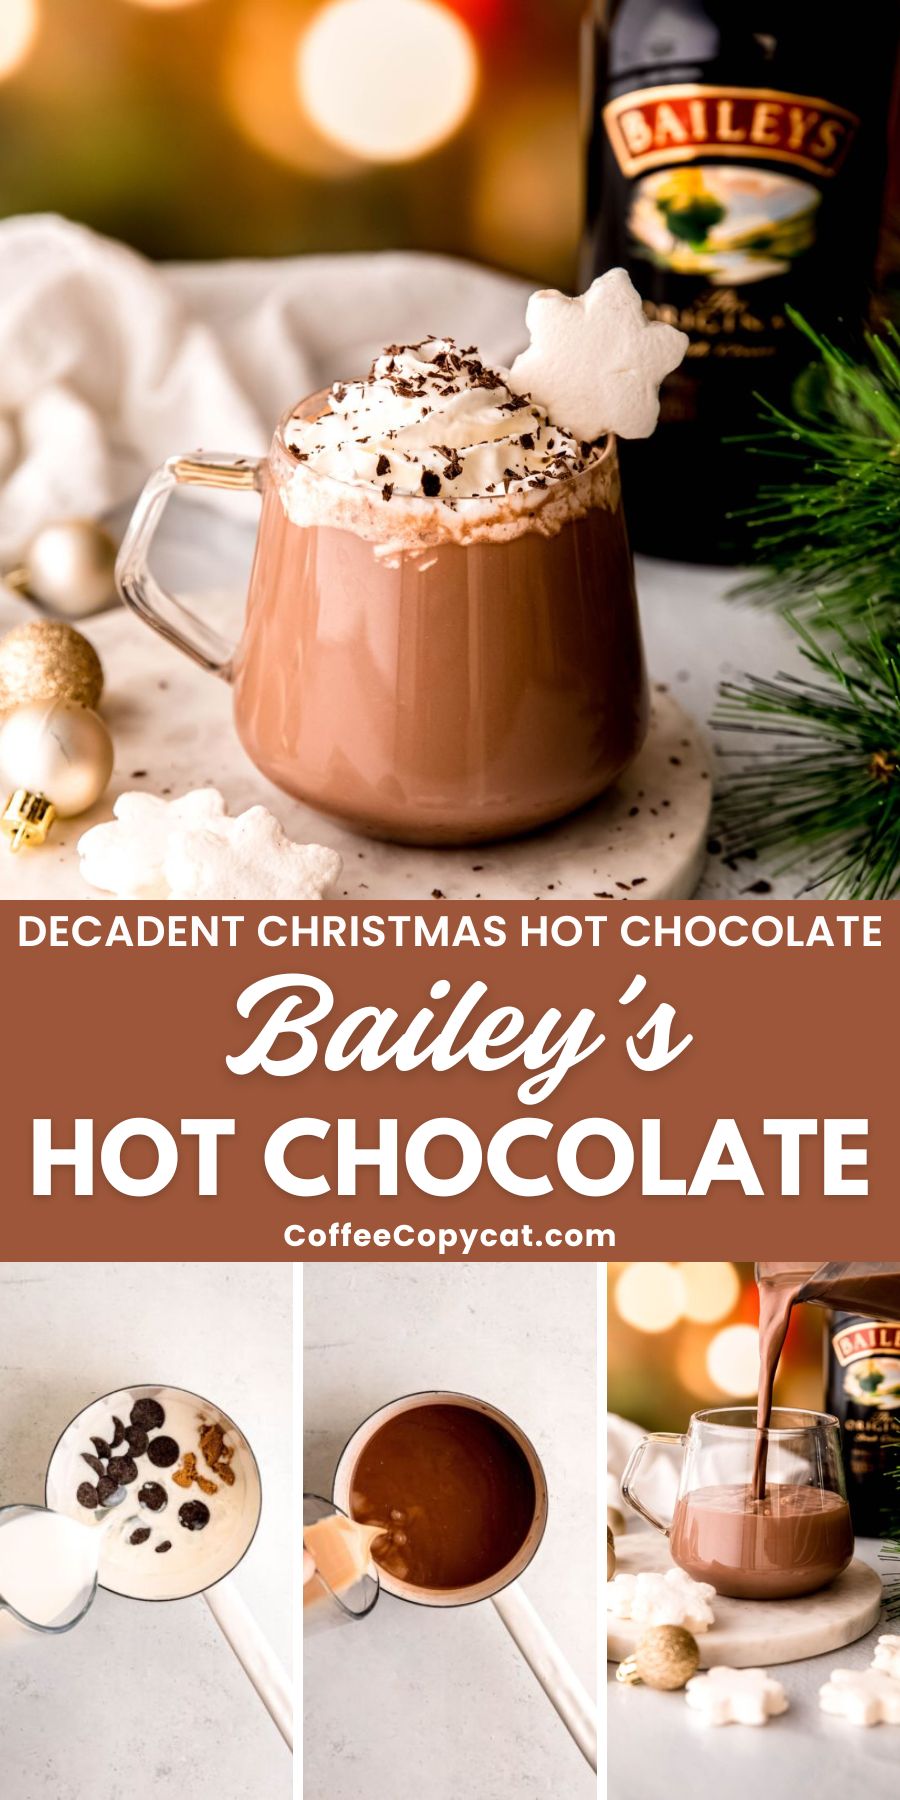
Give a childhood favorite a grown-up twist with my deliciously boozy Bailey’s Hot Chocolate recipe! Made with just 4 ingredients in about 5 minutes, this simple sweet treat is the perfect chilly weather nightcap-meets-dessert.

When the weather outside is frightful, a mug of dark hot chocolate with Bailey’s Irish cream is truly delightful. Between the deep cocoa notes, steamy-creamy milk, and the sweet burn of liqueur, this is a drink that’ll warm more than just your hands.
Whether you’re returning to the lodge after a day on the slopes or are gearing up to go caroling in the cold, this Bailey’s hot chocolate is the perfect way to wrap yourself up in coziness. It’s also simple to batch up for a crowd so you can share the cheerful vibes.
And if you’re not an experienced bartender, there’s no need to fret! Bailey’s hot chocolate doesn’t require any fancy mixology. Just heat up some milk to melt the chocolate and sugar, then whisk in a tipple until the mixture is smooth. Honestly, it’s no more difficult than any other of your favorite hot chocolate recipes—it’s just a little more spirited.
[feast_advanced_jump_to]What does it taste like?
This Bailey’s hot chocolate tastes like a cozy hug in a mug. It’s just the thing to shake the chill off! The dark chocolate gives it a deep, luxurious cocoa flavor that’s bittersweet and sophisticated, while the milk adds creaminess and balance. A touch of brown sugar brings gentle caramel notes—a perfect pairing with the warm, vanilla-kissed sweetness and boozy bite of Bailey’s Irish Cream.

Why You’ll Love This Hot Chocolate Recipe
- Quick & Easy - All you need are 4 ingredients and 5 minutes to make one. As a bonus, it’s just as easy to make a giant batch!
- Welcome Warmth - There’s something about Irish whisky that feels like an internal sweater. With each sip, you get a little nip of Bailey’s, adding a warmth that hot chocolate alone doesn’t have.
- Budget-Friendly - The last time my hubby and I went out for cocktails, I was floored. $17 for the cheapest drink on the menu—pre-tax and tip?!? You can buy an entire bottle of Bailey’s for the cost of one mixed drink at a restaurant, making it easy to spread the cheer without breaking the bank.
Ingredients Needed
- 2% Milk - Our go-to milk of choice is Fairlife 2% milk, which is deliciously creamy and has more protein than conventional milk.
- Dark Chocolate - I’d recommend anywhere from 55-70% chocolate for a rich chocolatey taste. You’re welcome to go even higher if you prefer more of a bittersweet flavor profile!
- Brown Sugar - Either light or dark brown sugar works.
- Bailey’s Irish Cream - Hot chocolate gets even yummier with a splash of this creamy liqueur.
- Whipped Cream or Marshmallows - While it’s perfectly luxurious on its own, a dollop of whipped cream or a handful of melty marshmallows is always welcome!

Substitutions
- 2% Milk - Feel free to swap in any percentage of dairy milk or any plant-based milk of your choosing.
- Dark Chocolate - I prefer a darker chocolate to balance out the sweetness of the brown sugar and Baileys, but feel free to swap in semisweet or milk chocolate if you prefer.
- Brown Sugar - For a less refined version, use coconut sugar, muscovado sugar or grated piloncillo. You can also make your own brown sugar using granulated sugar and molasses in a 1 cup to 1-2 tablespoon ratio.
- Bailey’s Irish Cream - No need to use the brand name if you’re on a budget! You can also experiment with Bailey’s many different flavors.
- Whipped Cream or Marshmallows - You’re welcome to omit any extras. For a less caloric take, a dusting of chocolate shavings or cocoa powder makes a nice garnish too.

How To Make Bailey’s Hot Chocolate
Step 1: Warm the Base. Add the milk, dark chocolate, and brown sugar to a small saucepan over medium-low heat.
Step 2: Melt & Whisk. Whisk continuously until the chocolate is completely melted, the mixture looks smooth and glossy, and the hot chocolate is gently steaming.
Step 3: Add the Bailey’s. Remove the pan from the heat and stir in the Irish cream. (Don’t add it while the mixture’s still cooking or you’ll risk burning off all the boozy fun!)
Step 4: Serve & Enjoy. Pour into your favorite mug and top with whipped cream, marshmallows, or a sprinkle of chocolate shavings. Now just sip, snuggle up, and get cozy!


Optional Variations & Dietary Adjustments
- Dairy-Free/Vegan - Use your favorite plant-based milk (preferably a “barista blend” for the best mouthfeel) and Bailey’s Almande or Coffee Toffee Non-Dairy Liqueur.
- Reduced Sugar - Swap in your favorite cup-for-cup brown sugar alternative (e.g. monkfruit) and use Bailey’s Deliciously Light. You can also use sugar-free chocolate if needed.
- Different Flavors - Have fun experimenting with Bailey’s whole product line to find your favorite tipple. S’mores, vanilla mint, and chocolate cherry all sound pretty dreamy to me!
Serving Suggestions
Top this boozy Bailey's hot chocolate with a generous swirl of whipped cream, homemade marshmallows, chocolate curls, or a dusting of cocoa powder for a professional-looking presentation. If you’re really going for it, a drizzle of caramel or chocolate syrup adds a layer of sweet decadence. Garnish with a candy cane stir stick during the holidays for festive flair.
For a nightcap, serve it in an Irish coffee glass and enjoy fireside after dinner. It’s rich enough to double as dessert! That said, it also pairs well with other sweet treats. Try it alongside baked apple cider donuts, cranberry bliss bars or pumpkin pie crumble bars for a holiday-worthy finish to any evening.

Recipe Success Tips
- Use quality chocolate. The better the chocolate, the richer the flavor. Opt for a bar of dark chocolate (around 60-70% cacao) rather than chocolate chips if you can—bars melt more evenly than chips.
- Don’t let it boil. Keep the heat on medium-low. Boiling can scorch the milk and change its texture. You just want it hot and steamy.
- Whisk constantly. This helps the chocolate melt evenly and keeps your hot chocolate silky smooth.
- Add Bailey’s off the heat. Stir it in after removing the pan from the burner to preserve the Irish cream’s smooth, creamy flavor and alcoholic bite.
- Adjust sweetness to taste. Bailey’s adds sweetness, so start with less brown sugar and add more if needed.
- Serve immediately. This drink is best enjoyed fresh while it’s warm and frothy. It tends to separate a bit as it cools.
FAQs
Heck yeah, you can! Bailey’s and hot chocolate are a match made in heaven. Check out the recipe below to learn the perfect balance.
If you add Bailey’s, it sure does. That said, feel free to swap in a non-alcoholic Irish cream if needed!
Bailey’s Irish Cream is one of the best choices for hot chocolate. Its creamy, caramel-vanilla flavor melts seamlessly into your mug. Other great options include Kahlúa for a coffee-flavored twist, peppermint schnapps for a peppermint hot chocolate vibe, or dark rum and bourbon for a spicier, boozier kick.
It depends on how boozy you want your drink to taste. For a standard-sized mug of hot chocolate, start with 1 ounce for a subtle flavor, or go up to 2 ounces for a richer, more intoxicating drink.

Bailey’s Irish Cream Hot Chocolate Nutrition
At around 484 calories per serving, this Bailey’s hot chocolate is a true indulgence. It’s rich, creamy, and meant to be savored. The 23 grams of fat come mainly from milk and the Irish cream, giving the drink its silky texture. You’ll also get 11 grams of protein, which helps balance the sweetness and makes it surprisingly satisfying for a dessert drink.
The 47 grams of carbohydrates (including 43 grams of sugar) come mostly from Bailey’s, chocolate, and brown sugar, so this isn’t an everyday drink. Save it for a special occasion or as a cozy weekend treat. On the plus side, dark chocolate provides a dose of antioxidants and milk adds a calcium boost, so you’re getting a little bit of good in there.
If you’re looking to lighten things up, try following the reduced-sugar instructions in the optional variations section. But, don’t feel like you have to! So long as you treat it as an occasional fireside dessert and fill the rest of your day with fiber- and protein-rich foods with no added sugars, you shouldn’t stress about it. Enjoy every decadent sip!
Total nutritional content per serving is:
- Calories: 484 calories
- Total Fat: 23 grams
- Protein: 11 grams
- Sodium: 111 mg
- Carbohydrates: 47 grams
- Sugar: 43 grams
*This nutritional information is an estimate and calculated based on the ingredients used to create the recipe. The nutritional value of your ingredients may differ slightly. Furthermore, this food is not intended to prevent, diagnose, cure, or treat any disease.

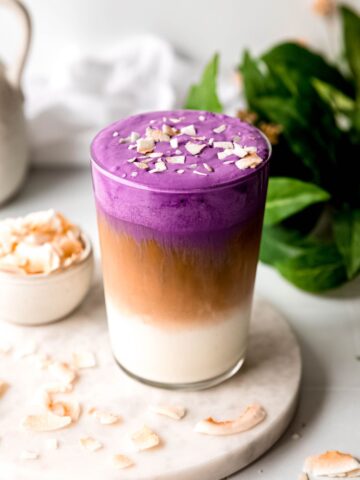
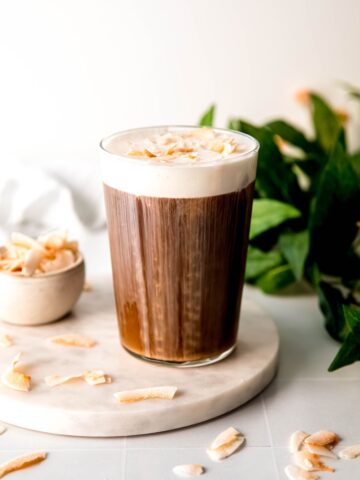
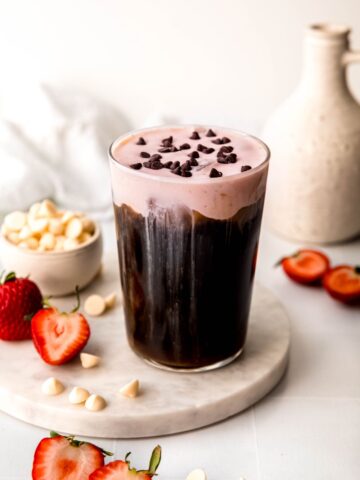
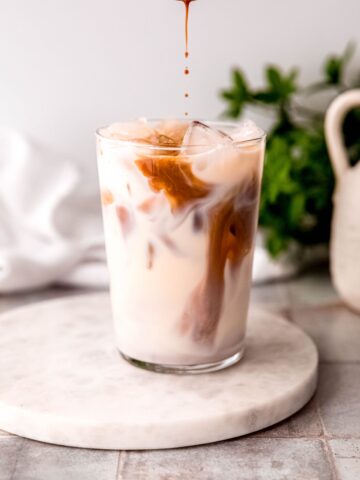
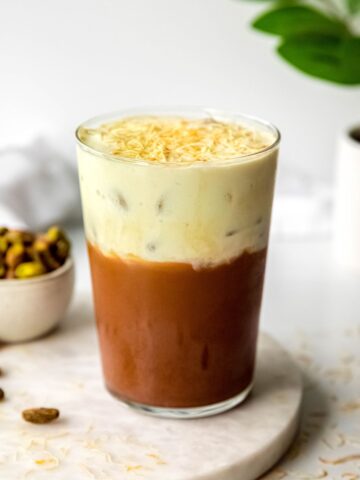
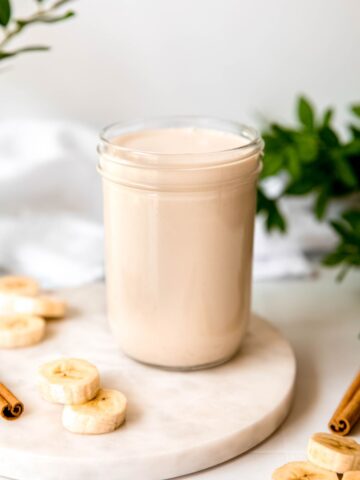
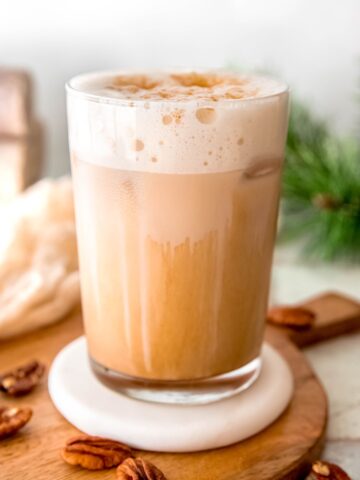
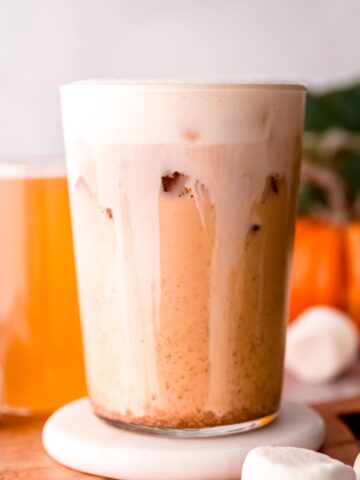
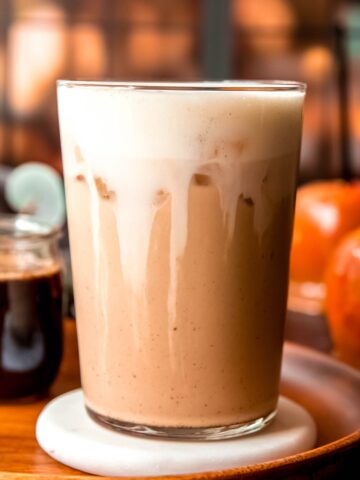
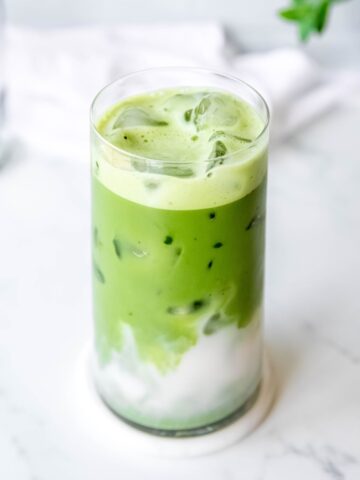
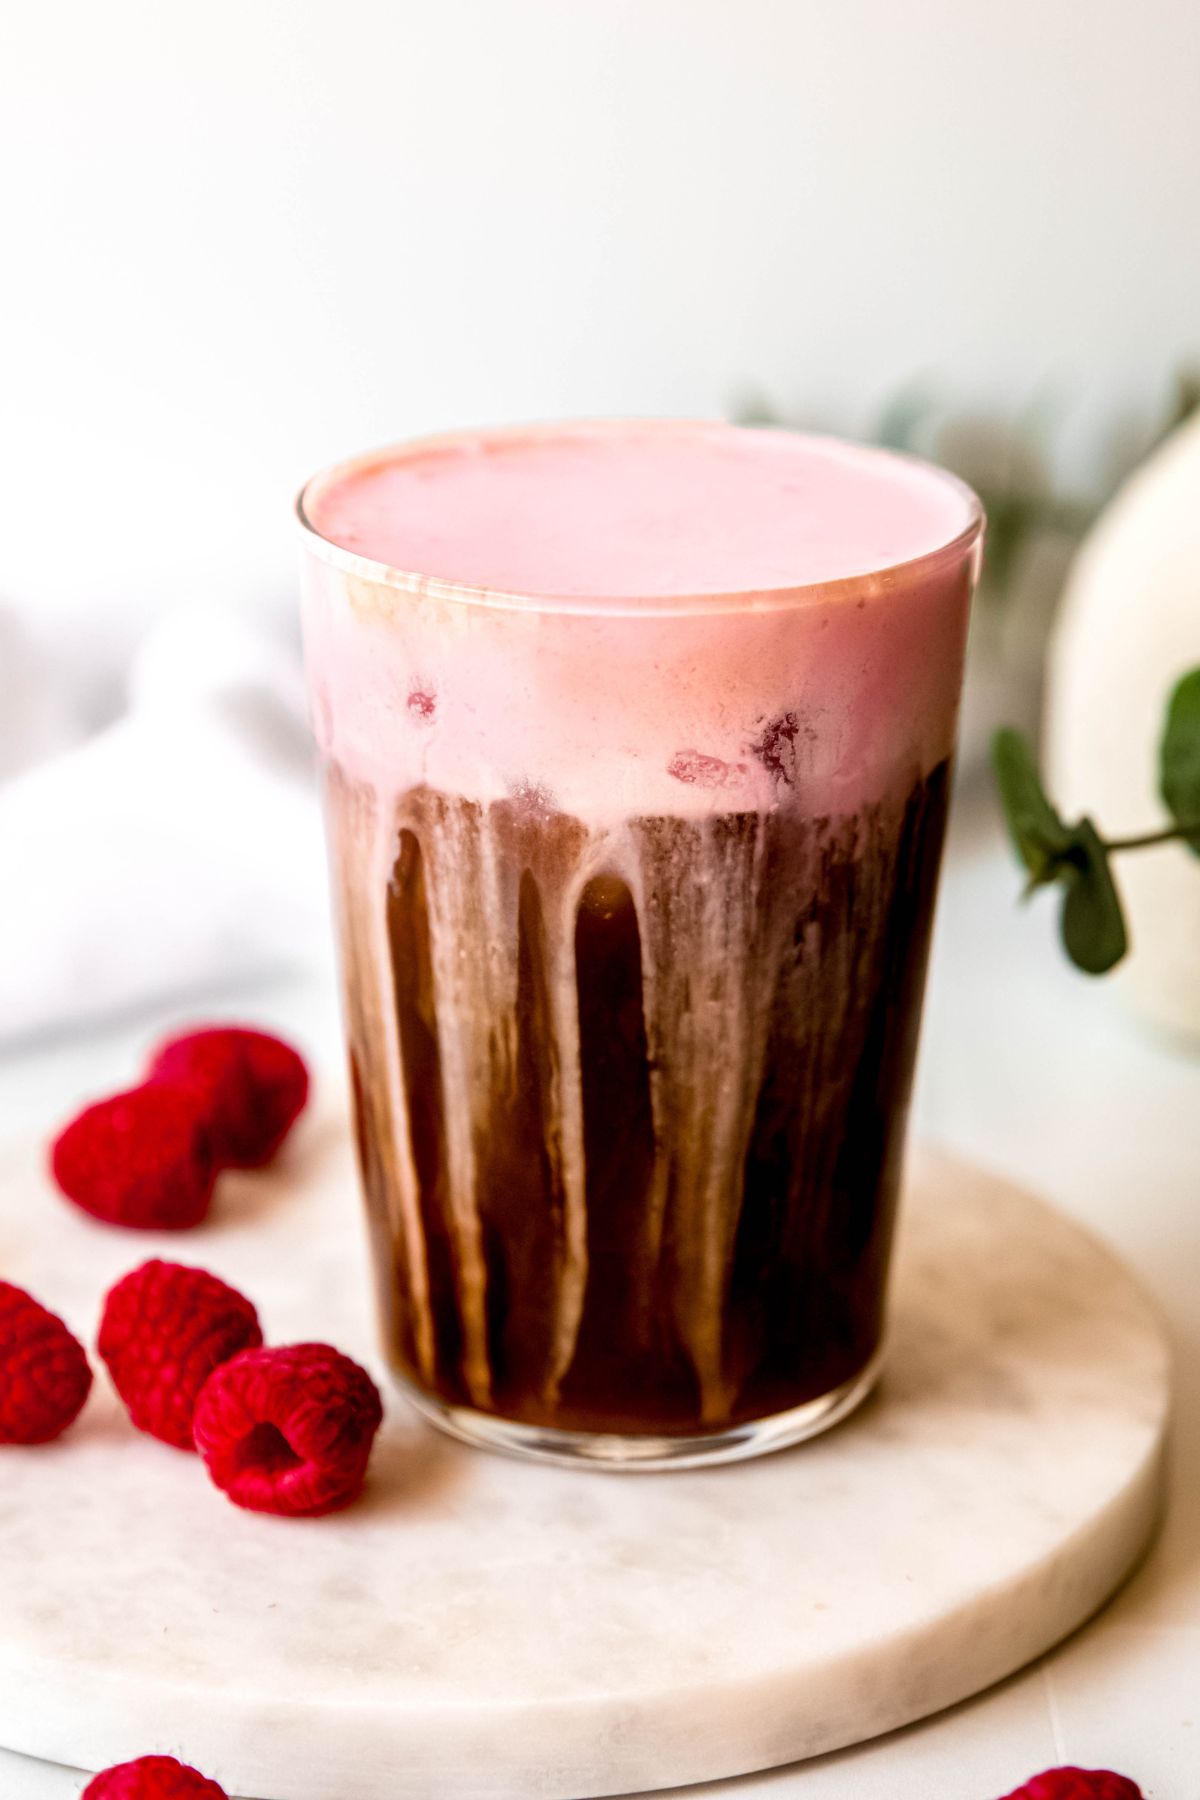
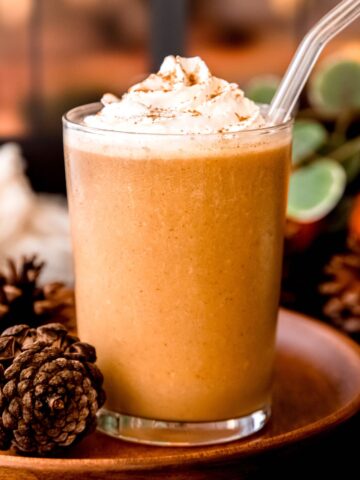
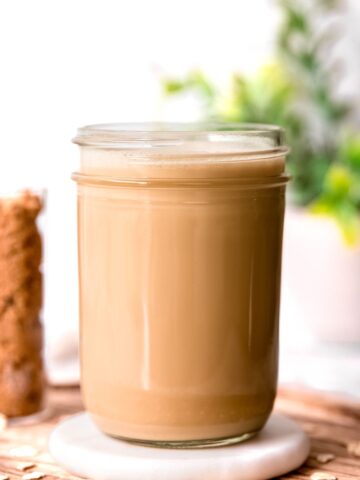
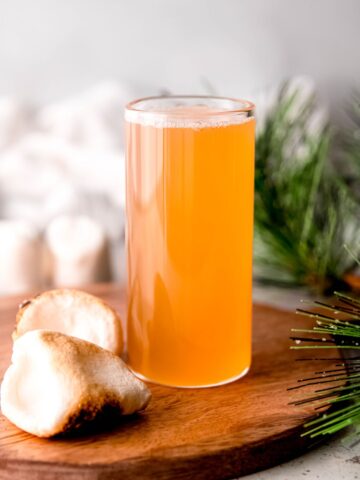
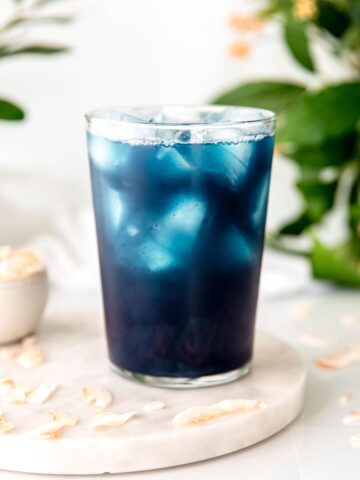
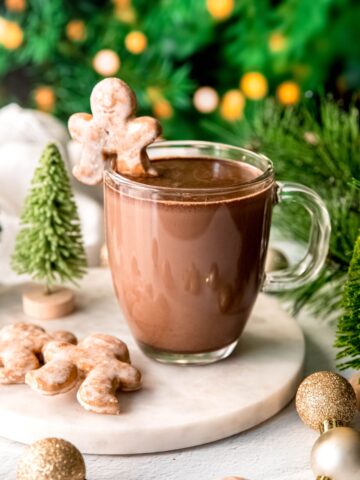
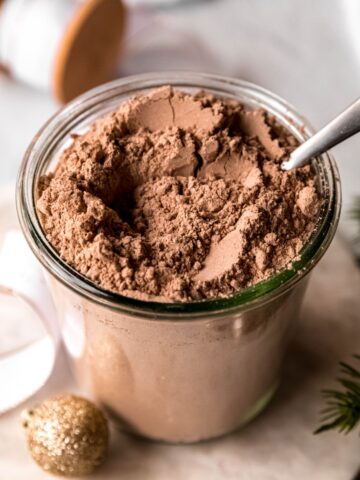
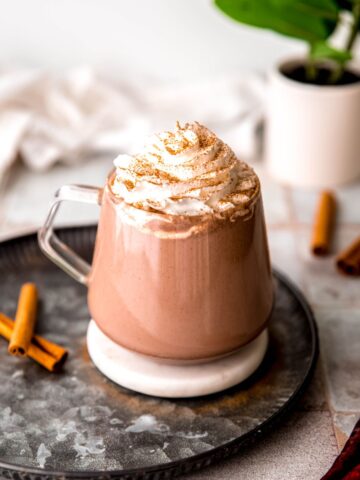
Other Hot Chocolate Recipes


Bailey's Hot Chocolate
Equipment
Ingredients
- 1 cup milk of choice (I used 2% milk)
- 1 oz dark chocolate
- 1 teaspoon brown sugar
- ¼ cup Bailey's Irish Cream
- whipped cream and/or crushed candy canes optional for garnish
Instructions
- Add milk, dark chocolate, and brown sugar to a small saucepan and heat over medium-low heat. Whisk until the chocolate is melted, the hot chocolate is steaming, and everything is well-combined.
- Remove from heat and stir in the Irish Cream. Pour into a mug and top with whipped cream and/or chocolate shavings if desired. Drink up!
Nutrition
xoxo Megan